Assembling the Char-Broil 4-Burner Gas Grill is a straightforward process when following the provided instructions. This guide offers step-by-step directions, essential safety tips, and tools required for a successful setup.
Overview of the Char-Broil 4-Burner Gas Grill
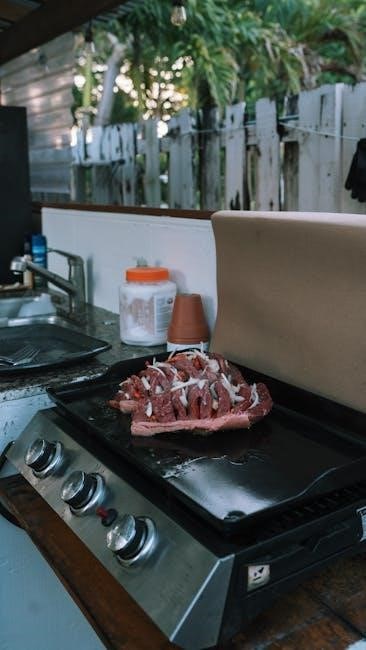
The Char-Broil 4-Burner Gas Grill is a high-performance cooking appliance designed for outdoor grilling enthusiasts. It features four main burners, a side burner, and a spacious cooking surface, making it ideal for hosting family gatherings or outdoor events. Constructed with durable materials, including stainless steel components, this grill ensures long-lasting performance and resistance to rust. The grill’s compact yet robust design allows for easy mobility and installation, while its advanced heating system provides consistent cooking results. With a 32-inch primary cooking area, it offers ample space to prepare a variety of dishes simultaneously.
The Char-Broil 4-Burner Gas Grill also includes a flush-lidded side burner for added versatility, enabling users to prepare sides or sauces while grilling. Its sleek and modern design, combined with user-friendly controls, makes it a practical choice for both novice and experienced grillers. Whether for casual meals or large-scale entertaining, this grill delivers exceptional value and functionality, ensuring a memorable cooking experience every time.
Importance of Following Assembly Instructions
Following the Char-Broil 4-Burner Gas Grill assembly instructions is crucial for ensuring safety, proper functionality, and optimal performance. The detailed guide helps users avoid common mistakes that could lead to gas leaks, uneven heating, or structural instability. Incorrect assembly can result in safety hazards, such as fire risks or carbon monoxide exposure. Adhering to the instructions ensures all components, including burners, ignition systems, and gas connections, are securely and correctly installed. This also maintains the grill’s durability and warranty validity. Taking the time to carefully follow each step guarantees a safe and enjoyable grilling experience for years to come.
Safety Precautions Before Assembly
- Ensure the grill is placed on a stable, heat-resistant surface.
- Keep the grill at least 3 feet away from walls and flammable materials.
- Avoid leaning over the grill while lighting or adjusting burners.
- Use warm soapy water to check for gas leaks before first use.
- Never light the grill with the lid closed to prevent gas buildup.
General Safety Guidelines
Before assembling or using your Char-Broil 4-Burner Gas Grill, ensure a safe environment. Keep the grill at least 3 feet away from walls, flammable materials, and overhangs. Always wear protective gloves and eyewear during assembly. Children and pets should be kept at a safe distance. Never assemble or operate the grill in enclosed spaces. Use only propane gas as specified in the manual. Avoid leaning over the grill while lighting or adjusting burners. Ensure the area is clear of leaves or debris. Follow all safety warnings in the manual to prevent accidents and ensure safe grilling experiences.
Installation Safety Precautions
When installing your Char-Broil 4-Burner Gas Grill, ensure all components are securely fastened. Use only LP (propane) gas and the regulator/valve assembly provided. Do not modify or alter the grill’s gas system. Place the grill on a level, stable surface away from flammable materials. Inspect gas hoses for damage before connecting. Never install the grill in enclosed spaces or near overhead obstructions. Ensure proper ventilation to avoid gas buildup. If unsure about any step, consult a professional. Always follow the manufacturer’s guidelines for a safe and correct installation.
Lighting and Gas Safety Tips
Always follow the manufacturer’s guidelines for lighting and gas safety. Ensure the grill is at least 3 feet away from any wall or flammable material. Never light the burner with the lid closed, as this can cause gas buildup. Avoid leaning over the grill while lighting. Check for gas leaks by applying soapy water to connections—bubbles indicate a leak. Open the lid before igniting and ensure the area is well-ventilated. Turn off the gas supply immediately if you smell propane. Keep a fire extinguisher nearby and never leave the grill unattended while in use.
Tools and Parts Required for Assembly
Essential tools include a screwdriver, wrench, and pliers. Parts such as burner assemblies, grill grates, and hardware (bolts, washers) are provided. Check the inventory list to ensure all components are included before starting assembly.
Essential Tools for the Assembly Process
For a smooth assembly, gather essential tools like a screwdriver, wrench, and pliers. A socket set may also be useful for securing bolts. Additional items include a measuring tape and Allen key for specific adjustments. Ensure all tools are within reach to avoid interruptions. Refer to the manual for any specialized tools required for your model. Organize the components and hardware provided, such as nuts, bolts, and washers, to streamline the process. Double-check the inventory list to confirm all parts are included before starting. Proper preparation ensures a hassle-free assembly experience.
Understanding the Parts and Components
Familiarizing yourself with the grill’s components is crucial for efficient assembly. The main parts include the grill frame, burners, cooking grates, warming rack, and side burner. The frame serves as the base, while the burners and ignition system are essential for cooking. Cooking grates and the warming rack provide ample space for food. The side burner offers additional cooking flexibility. Properly identifying each part ensures they are assembled correctly. Refer to the manual for detailed diagrams and descriptions to avoid confusion. Understanding each component’s role helps in troubleshooting and ensures optimal performance once assembled. Keep all parts organized to maintain clarity throughout the process.

Step-by-Step Assembly Instructions
Begin by unpacking and inventorying all components. Assemble the frame, attach the burners, and connect the gas lines. Install the cooking grates and warming rack, then attach the side burner and lid. Ensure all connections are secure and test the ignition system before use.
Unpacking and Inventory of Grill Components
Start by carefully unpacking the grill from its box and placing all components on a clean, flat surface. Check for any damage or missing parts. Inventory the items, including the grill frame, burners, cooking grates, warming rack, side burner, lid, and hardware kit. Ensure all parts match the list provided in the manual. Organize small components like bolts and screws to avoid losing them. This step is crucial for a smooth assembly process and ensures no pieces are overlooked. Take your time to verify each item before proceeding.
Assembling the Grill Frame and Base
Begin by placing the grill base on a level surface. Attach the frame to the base using the provided bolts, ensuring they are securely tightened. Next, align the sides and back panels with the base, securing them with screws. Use a wrench or screwdriver to tighten all connections firmly. Attach the wheels and legs to the base for stability and mobility. Finally, install the side tables by aligning their brackets with the frame and securing them with the appropriate hardware. Double-check all bolts and screws to ensure the frame and base are sturdy and properly assembled before moving on to the next step.
Installing the Burner and Gas Components
Begin by carefully placing the burner assembly into the grill frame, ensuring it aligns with the pre-drilled holes. Secure the burners using the provided screws or clips. Next, connect the gas lines to the burner ports, making sure they are tightly sealed to prevent leaks. Attach the igniter buttons to the control panel and link them to the burner igniter wires. Finally, connect the gas regulator to the propane tank and ensure all connections are secure. Turn the burner knobs to test the ignition system and verify that all burners light evenly. Use soapy water to check for gas leaks at all connections.
Attaching the Cooking Grates and Warming Rack
Position the cooking grates over the burners, ensuring they align with the supports. Secure them firmly to guarantee even heat distribution. For the warming rack, locate the designated brackets on the grill’s lid or frame. Attach the rack using the provided screws or clips, following the manual’s guidance. Tighten all connections to prevent movement during cooking. After installation, inspect the grates and rack to ensure stability and proper alignment. This step is crucial for optimal cooking performance and safety. Always refer to the instructions for specific hardware and placement details.
Connecting the Side Burner and Lid Assembly
Attach the side burner to the grill by aligning it with the designated mounting brackets. Secure it using the provided bolts, ensuring a tight fit. Next, position the lid assembly over the grill, aligning the hinges with the main unit. Fasten the hinges securely using the appropriate screws. Connect any gas lines or ignition components between the side burner and the main grill, following the manual’s instructions. Finally, test the lid’s movement and the side burner’s functionality to ensure proper operation. This step completes the grill’s structural assembly, readying it for use.
Final Checks and Testing
Ensure all connections are secure and leak-free. Test each burner and ignition system for proper function. Verify the grill operates safely and efficiently before first use.
Ensuring Proper Gas Connections
After assembling, inspect all gas lines and connections for leaks using soapy water—bubbles indicate leaks. Tighten fittings if necessary. Ensure the regulator is properly attached to the propane tank and grill. Follow the manual’s guidelines for connecting components. Double-check that the gas supply is turned off when not in use. Never overtighten connections, as this may damage threads. Use only approved hoses and adapters. Keep the grill at least 3 feet away from flammable materials during testing. Properly secure all gas lines to avoid kinking or damage. Ensure the grill is on a level surface before testing gas flow.
Testing the Burners and Ignition System
After assembly, test the burners and ignition system by turning the gas supply on and lighting each burner individually. Ensure the ignition clicks and flames appear evenly. Check that all four burners light properly and adjust the knobs to verify flame control. If a burner doesn’t light, refer to the manual for troubleshooting steps. Always keep the lid open when testing to avoid gas buildup. Ensure the side burner, if applicable, functions correctly. Verify that the ignition system operates smoothly without requiring excessive force. If issues persist, consult the troubleshooting section or contact customer support.
Maintenance and Cleaning Tips
Regular cleaning prevents grease buildup and ensures optimal performance. Use warm soapy water or Char-Broil Grill Cleaner, then wipe dry with a soft cloth to maintain the grill’s condition.
Cleaning the Grill Surface and Burners
Cleaning the grill surface and burners is essential for maintaining performance and safety. Use warm soapy water or a Char-Broil Grill Cleaner to wipe down surfaces. For tough grime, a wire brush can help remove residue. Burners should be cleaned regularly to prevent clogs, ensuring proper gas flow. After cleaning, dry all components with a soft cloth to prevent rust. Regular maintenance helps prevent grease fires and keeps the grill functioning optimally. Always follow the manufacturer’s cleaning instructions for best results and to extend the lifespan of your Char-Broil 4-Burner Gas Grill.
Regular Maintenance for Optimal Performance
Regular maintenance is crucial to ensure your Char-Broil 4-Burner Gas Grill performs optimally. Check and clean burner ports to prevent blockages, which can disrupt gas flow. Lubricate moving parts, such as hinges and knobs, to maintain smooth operation. Inspect the gas lines and connections for leaks or damage, replacing them if necessary. After each use, clean the grill surface and burners to prevent residue buildup. Store the grill in a dry, protected area during off-seasons to avoid rust. Consistent upkeep will enhance your grilling experience and extend the grill’s lifespan.
Tips for First-Time Grill Users
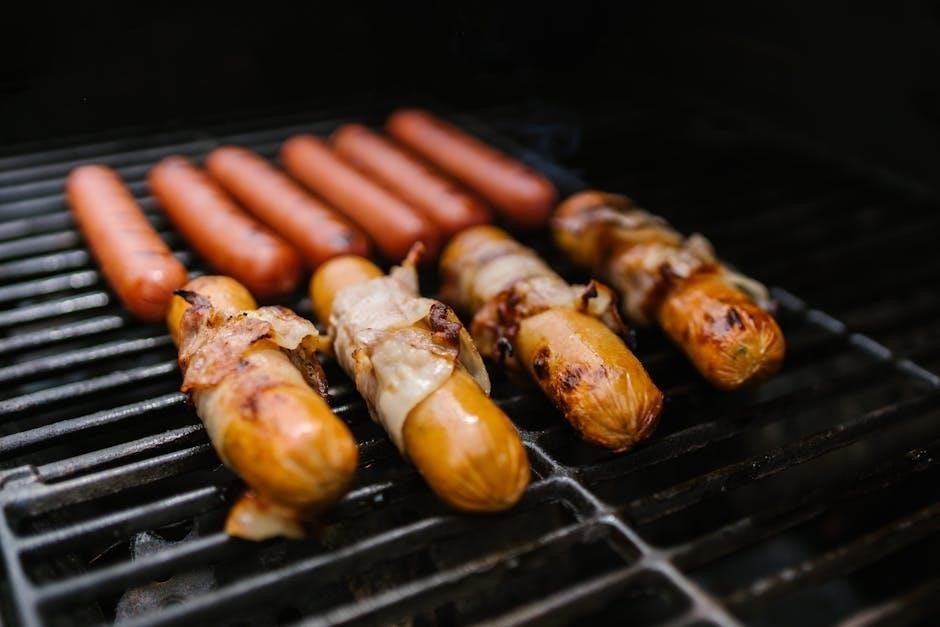
For first-time grill users, start by familiarizing yourself with the controls and safety features. Ensure the grill is preheated properly before cooking to achieve even heat distribution. Adjust burner settings to maintain consistent temperatures, and use the warming rack to keep food ready. Keep the lid closed while cooking to retain heat and reduce flare-ups. Always follow the manufacturer’s guidelines for cooking times and temperatures to ensure perfectly cooked meals. Practice makes perfect, so experiment with different settings to find your grilling style.
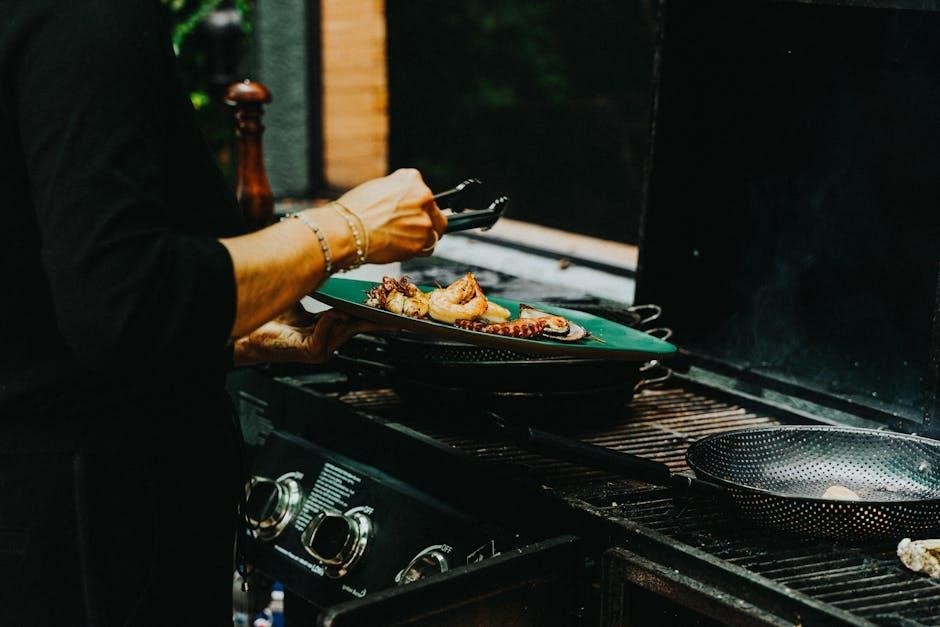
Best Practices for Using the Grill
Always preheat the grill for 10-15 minutes before cooking to ensure even heat distribution. For best results, cook with the lid closed to retain heat and reduce flare-ups. Use the side burner for sauces or sides while grilling. Keep the grill surface clean to prevent food from sticking and promote consistent cooking. Never leave the grill unattended while in use. Adjust burner settings to maintain optimal temperatures for your recipe. Use the warming rack to keep cooked food ready without overheating. Regularly clean the burners and drip tray to maintain performance and safety. Follow these practices for a perfect grilling experience every time.
Troubleshooting Common Issues
Common issues with the Char-Broil 4-Burner Gas Grill include burners not lighting, uneven heat distribution, and grease fires. If burners fail to ignite, check the gas supply, igniter, and burner holes for blockages. For uneven heating, ensure the grill is preheated properly and the cooking grates are clean. Grease fires can be prevented by regular cleaning of the drip tray and burners. If issues persist, refer to the user manual or contact customer support. Proper maintenance and adherence to safety guidelines can help resolve most problems and ensure optimal grilling performance.
Successfully assembling and maintaining your Char-Broil 4-Burner Gas Grill ensures years of enjoyable grilling. Follow instructions carefully, prioritize safety, and perform regular maintenance for optimal performance and delicious results.
Final Thoughts on Assembly and Usage
Properly assembling and maintaining your Char-Broil 4-Burner Gas Grill is key to achieving optimal performance and delicious grilling results. Always follow the provided instructions carefully, ensuring all safety precautions are prioritized. Regular cleaning and maintenance will extend the life of your grill and prevent common issues. Troubleshooting tips can help resolve any problems that arise, ensuring your grilling experience remains enjoyable. By adhering to these guidelines, you’ll be able to cook confidently and savor the benefits of your Char-Broil grill for years to come. Happy grilling!