Welcome to the Rainbow Loom Instruction Manual! This comprehensive guide helps you master the art of looming, from basic setups to advanced patterns, ensuring a seamless crafting experience.
Overview of the Rainbow Loom
The Rainbow Loom is a versatile crafting tool designed for creating colorful bracelets, accessories, and decorative items using elastic bands. Its grid layout allows for easy band placement, while its ergonomic design ensures comfort during use. Perfect for crafters of all skill levels, the loom is durable, portable, and ideal for both casual hobbyists and serious enthusiasts. It’s a must-have for anyone looking to explore the creative world of looming.
Importance of the Instruction Manual
The Rainbow Loom Instruction Manual is essential for maximizing your looming experience. It provides clear, step-by-step guidance for setting up the loom, learning basic and advanced patterns, and troubleshooting common issues. Whether you’re a beginner or an experienced crafter, the manual ensures you understand each feature and technique, helping you create high-quality projects efficiently. Referencing the manual regularly will enhance your skills and overall satisfaction with your Rainbow Loom.
What to Expect in the Manual
The Rainbow Loom Instruction Manual offers a detailed, user-friendly guide to looming. It covers essential topics like setting up the loom, understanding its components, and mastering various bracelet patterns. The manual also provides tips for choosing materials, safety precautions, and troubleshooting common issues. With clear instructions and visuals, it equips you with the knowledge to create stunning designs, from simple chains to intricate advanced patterns, ensuring a fun and rewarding experience for all skill levels.

Understanding the Components of the Rainbow Loom
The Rainbow Loom consists of a sturdy plastic base, rows of pegs, and a hook for weaving rubber bands into stylish bracelets and accessories, ensuring durability and versatility in crafting.
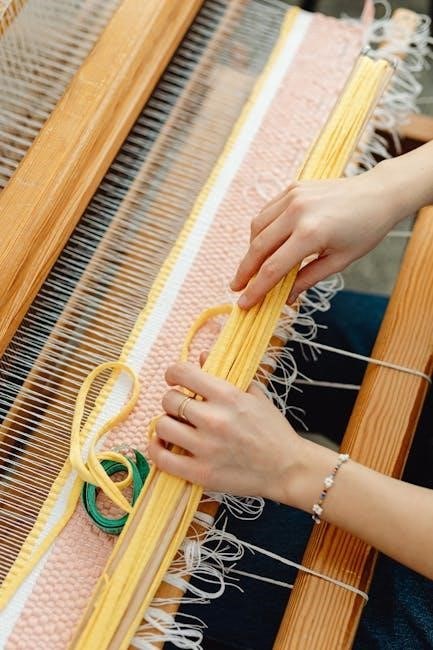
Parts of the Loom
The Rainbow Loom is constructed with a durable plastic base featuring aligned rows of pegs, which serve as anchors for the rubber bands. A detachable hook is included for easy band manipulation, while a leverage bar on the side aids in stretching the bands tightly. Additional pegs on the side allow for extension, making larger projects possible. These components work together seamlessly to facilitate the looming process, ensuring both functionality and creativity in crafting various designs. The loom’s compact design makes it portable, while its adjustable features cater to different project sizes and complexities, offering versatility for crafters of all skill levels. By understanding each part’s role, users can optimize their looming experience, leading to professional-looking results. The clear layout of the loom’s components is designed to streamline the band-weaving process, making it accessible even for beginners. With proper care and use, the loom’s parts will maintain their integrity, providing long-lasting performance and endless creative possibilities. The inclusion of these well-engineered components ensures that the Rainbow Loom remains a top choice for crafting intricate and stylish accessories. This comprehensive design approach guarantees that users can explore a wide range of patterns and designs with ease and precision, making the looming experience both enjoyable and rewarding.
Accessories Included
The Rainbow Loom kit comes with a variety of essential accessories to enhance your looming experience. These include a sturdy hook tool, designed for securing and stretching rubber bands, and a set of colorful rubber bands in assorted sizes and hues. Additionally, decorative beads and small charms are often provided to add personalized touches to your creations. These accessories are carefully curated to inspire creativity and versatility in your projects. By utilizing these included items, you can craft intricate designs and unique accessories with ease. The hook tool is particularly useful for maneuvering bands on the loom, while the beads and charms allow for customization. Together, these accessories provide everything needed to start creating immediately, making the Rainbow Loom a complete and versatile crafting system. The inclusion of these high-quality accessories ensures that users can explore a wide range of creative possibilities right out of the box. This thoughtful selection of tools and materials makes the Rainbow Loom an excellent choice for both beginners and experienced crafters alike. With these accessories, you can bring your imaginative ideas to life and create stunning, one-of-a-kind pieces. The overall design and inclusion of these components reflect the Rainbow Loom’s commitment to providing a comprehensive and enjoyable crafting experience.
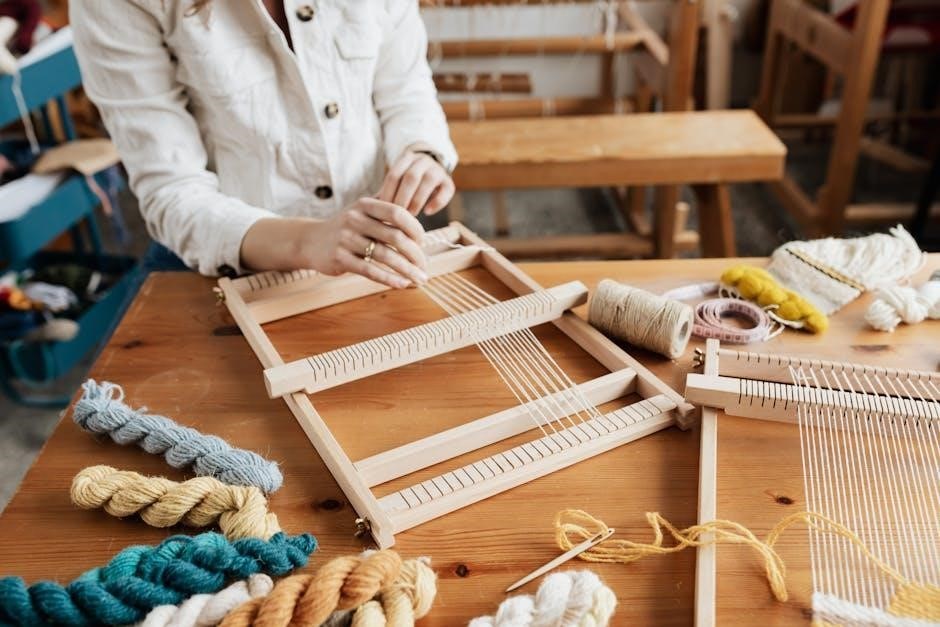
Tools Needed for Looming
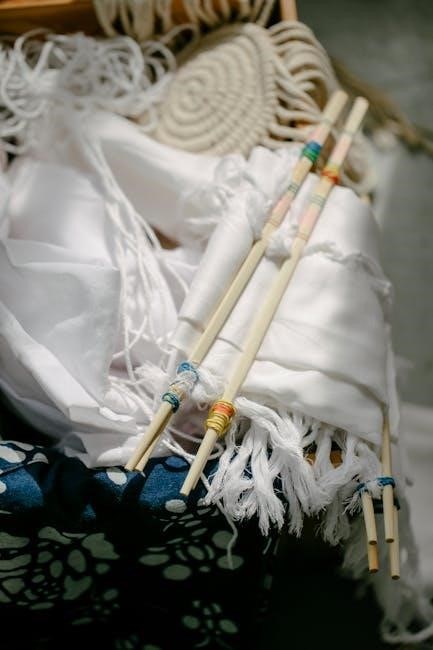
To begin looming, you’ll need a few essential tools. A measuring tape ensures accurate band placement, while scissors are used for cutting rubber bands. A clipboard can help organize your bands and designs. These tools are simple yet crucial for maintaining precision and efficiency while creating. They complement the loom’s functionality, allowing you to focus on crafting intricate patterns and designs with ease. Proper use of these tools enhances your looming experience, making it more enjoyable and productive.;
Setting Up Your Rainbow Loom
Setting up your Rainbow Loom is an exciting first step! Carefully unpack, prepare, and organize your tool. This setup ensures a smooth start to your looming journey.
Unpacking and Preparing the Loom
Unboxing your Rainbow Loom is the first step to creativity! Gently unpack each component, ensuring no parts are damaged. Lay them out to familiarize yourself with the tools. Remove any protective packaging and lightly clean the loom if needed. Organize the bands, clips, and accessories neatly. This preparation ensures everything is ready for a smooth setup, making your looming experience enjoyable and hassle-free from the start.
Mounting the Loom on a Surface
Mounting your Rainbow Loom on a stable surface is essential for smooth operation. Place the loom on a flat, sturdy table or countertop. Use the provided clamps or screws to secure it firmly, ensuring it doesn’t move during use. Align the loom evenly and tighten the clamps or screws gently but securely. This setup provides stability, allowing you to focus on creating without distractions or wobbling, ensuring precise and efficient looming every time;
Adjusting the Tension
Proper tension is crucial for consistent and professional results. To adjust the Rainbow Loom’s tension, locate the screw or knob on the side of the loom. Turn it clockwise to tighten or counterclockwise to loosen. Check the manual for specific instructions, as different models may vary. Test the tension by gently stretching a band across the pegs; it should feel firm but not overly tight. Proper adjustment ensures smooth operation and prevents band breakage during use.
Basic Bracelet Patterns for Beginners
Start with the Single Chain for simplicity, then explore the Double Chain for width. The Twist Pattern adds texture, offering a variety of styles to master gradually with ease.
Single Chain Pattern
The Single Chain is the simplest bracelet pattern, perfect for beginners. It involves looping bands around each peg in a forward direction, creating a sleek and straightforward design. This pattern is ideal for practicing band placement and tension control. With consistent practice, you’ll quickly master this fundamental technique, providing a solid foundation for more complex designs in the future. It’s a great way to start your looming journey and build confidence in your skills. Don’t forget to refer to the Rainbow Loom Instruction Manual PDF for clear step-by-step visuals to ensure accuracy. This pattern is not only easy but also versatile, allowing you to experiment with different colors and variations once you’ve got the hang of it. The Single Chain is a timeless choice, making it a staple in any crafter’s repertoire. By following the manual’s guidance, you’ll achieve professional-looking results right from the start.
Double Chain Pattern
The Double Chain Pattern builds on the Single Chain, creating a thicker and more visually appealing bracelet. It involves looping bands on each peg in both forward and backward directions. This pattern enhances durability and adds texture, making it a favorite among crafters. By following the Rainbow Loom Instruction Manual PDF, you’ll learn how to alternate band placements effectively. The Double Chain is a great way to experiment with color combinations and add depth to your designs. It’s slightly more complex than the Single Chain but still accessible for beginners. Start by looping bands as you would for the Single Chain, then add a second layer by looping backward. This creates a double-layered effect that stands out. Remember to maintain consistent tension to ensure the bracelet lies flat. With practice, you’ll master this pattern and be ready to explore more intricate designs. The Double Chain is an excellent way to enhance your basic looming skills and create stylish accessories with ease.
The Twist Pattern adds a dynamic and modern look to bracelets. It involves alternating forward and backward loops on adjacent pegs, creating a twisted effect. Start by looping a band forward on the first peg, then backward on the next, continuing this pattern. The Rainbow Loom Instruction Manual PDF guides you through precise steps to achieve this design. The Twist Pattern works well with contrasting colors to highlight the twist. It’s a great way to add visual interest and texture. Regular practice helps in perfecting the tension and alignment, ensuring a neat finish. This pattern is ideal for those looking to expand their skills beyond basic designs. By mastering the Twist Pattern, you can create unique accessories that stand out. It’s a fun and creative way to enhance your looming projects and explore new styling possibilities with ease. Explore intricate designs like fishtail, dragon scale, and hexafish. These patterns require precision and practice, offering a challenge for skilled crafters seeking unique creations. The fishtail pattern adds a touch of elegance to your bracelets. Start by creating a base chain, then loop bands around pegs in a alternating direction. Cross over the bands to form the fishtail shape. Repeat this process, carefully adjusting the tension for a neat finish. This pattern works best with contrasting colors to highlight the design. Practice makes perfect for this popular look. The dragon scale pattern creates a striking, textured design. Begin by making a base chain, then add bands in a staggered formation. Fold the bands over the pegs to form scale-like shapes. Alternate colors to enhance the visual effect. This pattern requires precision and patience, but the result is a bracelet that resembles dragon scales, perfect for adding a mythical touch to your creations. Practice this technique to master its intricate details. The hexafish pattern is an advanced design that creates a six-sided fish-like shape. Start by making a base chain, then add bands in a specific sequence to form the fish body. Use a hook to loop bands around the pegs, ensuring tight tension. Alternate colors for a vibrant effect. Finish by securing the ends neatly. This pattern showcases intricate weaving techniques and results in a unique, eye-catching accessory. Perfect for experienced users looking to challenge their skills. Selecting the right bands, beads, and charms is essential for creating vibrant and durable designs. Use high-quality, flexible bands for better hold and longevity of your creations. Explore various band types, including latex, silicone, and glow-in-the-dark options. Latex bands are durable and colorful, ideal for intricate designs. Silicone bands offer flexibility and resistance to cracking, perfect for complex patterns. Glow-in-the-dark bands add a unique twist, making your creations stand out. Each type offers distinct benefits, allowing you to customize your projects according to your preferences and desired outcomes. Master the art of color coordination with Rainbow Loom. Start with complementary colors like blue and orange for vibrant contrasts. Use monochromatic shades for a cohesive look or mix warm and cool tones for dynamic bracelets. Experiment with gradients to create smooth transitions. Consider seasonal themes, like pastels for spring or deep tones for winter. Proper color pairing enhances your designs, making them visually appealing and professional. Add a personal touch to your bracelets with charms and beads. Start by threading a bead onto the loom or a band. Experiment with placement—center for focal points or spaced evenly for symmetry. Mix sizes and shapes for texture. Charms can be attached using jump rings or directly onto bands. They add uniqueness and personality, making each piece special and customizable to your style or occasion. Always handle the loom gently to avoid damage. Ensure bands are securely attached to prevent snapping. Keep fingers clear of moving parts during use to maintain safety and control. Always handle the Rainbow Loom with care to avoid accidental breakage. Ensure the loom is placed on a stable surface and out of reach of young children. When not in use, store the loom in a protective case to prevent damage. Regularly inspect the loom for wear and tear, and replace any damaged parts immediately to ensure safe operation and longevity of the product. Avoiding common mistakes ensures smooth progress in looming. Overstretching bands can lead to weak bracelets, while insufficient tension may cause them to unravel. Always follow the manual’s guidance for band placement and tension adjustment. Incorrect alignment of pegs can misshape designs, so double-check each step. Patience and attention to detail are key to achieving professional-looking results and enjoying the creative process without frustration. Proper storage and maintenance ensure your Rainbow Loom remains in excellent condition. Clean the loom regularly with a soft cloth to remove dust and debris. Store bands in a dry, cool place to prevent drying out or cracking. Use a silicone-based spray to lubricate moving parts if needed. Keep the loom in its original case or a protective cover when not in use to avoid damage. Regular upkeep extends the life of your tool and ensures optimal performance. Troubleshooting common issues with your Rainbow Loom ensures uninterrupted creativity. Identify problems like band breakage or misalignment and find quick solutions to get back to crafting effortlessly. Common issues with the Rainbow Loom include band breakage, misalignment, and tension problems. To address these, ensure proper setup, use compatible bands, and adjust the loom regularly. Regularly cleaning the loom and storing bands correctly can prevent damage. Refer to the manual for step-by-step solutions to maintain your loom’s performance and extend its lifespan effectively. Damaged bands can be repaired by carefully trimming frayed ends with scissors and reconnecting them using a C-clip or a new band. For severe damage, replace the band entirely to maintain the integrity of your design. Regularly inspect bands for wear and tear to prevent breakage during use. This ensures your projects remain durable and visually appealing, following the guidance provided in the Rainbow Loom manual. If your loom becomes misaligned, gently adjust the rows by ensuring each peg is securely fitted and evenly spaced. Tighten any loose screws and verify the loom is level. For persistent issues, refer to the troubleshooting section in the manual. Proper alignment is crucial for consistent stitching and professional-looking results, as detailed in the Rainbow Loom Instruction Manual. Access the official Rainbow Loom website to download the PDF manual. Ensure you click the correct link to get the latest version for accurate guidance. The Rainbow Loom Instruction Manual PDF is available on the official Rainbow Loom website. Visit the support or resources section to locate the download link easily. Additionally, authorized retailers may provide access to the manual upon purchase. Ensure to download from trusted sources to avoid unauthorized versions. This ensures you have the most up-to-date and accurate guide for your looming projects. To download the Rainbow Loom Instruction Manual PDF, click the provided link on the official website. Once redirected, select the download option and choose a location on your device. Ensure your device has enough storage space. After downloading, save the file in a dedicated folder for easy access. For offline use, consider saving it to cloud storage or printing a copy for convenience. Once downloaded, open the Rainbow Loom Instruction Manual PDF using a PDF reader. Use bookmarks or the table of contents to navigate sections easily. Zoom in for detailed views of patterns and instructions. Utilize the search function to find specific topics quickly. Familiarize yourself with the layout, ensuring easy access to tutorials, troubleshooting, and advanced designs. This digital format allows for seamless navigation, enhancing your looming experience with clarity and convenience. With the Rainbow Loom Instruction Manual, you now have the tools to create stunning designs effortlessly. From basic patterns to advanced techniques, this guide ensures a rewarding experience. Download the PDF for easy reference, and explore endless possibilities. Happy looming!Twist Pattern
Advanced Patterns and Designs
Fishtail Pattern
Dragon Scale Pattern
Hexafish Pattern
Choosing the Right Materials
Types of Bands
Color Coordination Tips
Using Charms and Beads
Safety Precautions and Tips
Handling the Loom Safely
Avoiding Common Mistakes
Storage and Maintenance
Troubleshooting Common Issues
Frequent Problems and Solutions
Repairing Damaged Bands
Fixing Loom Misalignment
Downloading the Rainbow Loom Instruction Manual PDF
Where to Find the PDF
How to Download and Save
Navigating the Digital Manual